This week I have been working further upon the OrbitalCalculations class - namely, trying to prove that the figures being generated are correct by following through an example from a trustworthy source. The source I used was the following from Utrecht University -
http://www.astro.uu.nl/~strous/AA/en/reken/hemelpositie. In getting this result, I have edited the class quite a bit, and will detail those changes later. I have also worked on getting a proper import code, that will allow my program to read in 3Ds max models and their materials.
Firstly, the changes to the orbital calculations class;
- getV has been replaced with getTrueAnomaly, and the variables likewise - so double v is now double trueAnomaly. This was mainly to help myself, I had not realised initially that the variable v that I was calculating was the true anomaly. I also changed the code, to give a more accurate result. I adapted the code from the same resource as the eccentric anomaly code - http://www.jgiesen.de/kepler/kepler.html.
- variable perihelionTime has been removed. After discussions with Rob it became clear that the current method of calculating the mean anomaly could not work, as there was very little to no data available on the date of perihelion passage for any planet other than Earth. The new method requires a start time which the orbital elements are valid for (01/01/2000) and the current date.
- Using the method of calculation detailed in the Utrecht University website, it is no longer necessary to calculate the X,Y,Z values in two parts, so x1, y1, z1, x2, y2, z2 and their associated methods have been removed and merged into one for calculating x, y and z on their own.
Now onto the big problem I had in getting the numbers my program output to equal the ones that website said I should be getting - radians and degrees. You see, the computer computes sin/cos/tan functions in radians, and the data I input and want output is in degrees. This gave me quite some trouble, but essentially each variable which is an angle had to be converted into radians before the calculation is carried out, then converted back into degrees if it is returning an angle. What I did was create a variable called k, and make it equal to Pi / 180. This means that multiplying an angle by k will convert it from degrees to radians, and dividing an angle by k will convert an angle from radians to degrees.
I'd like to run through the example on the Utrecht University website for calculating the X,Y,Z position of Jupiter.
The first step is to calculate the mean anomaly. Here is a screenshot of my new mean anomaly calculation:
The UU website states the result should be: 141.324°
Next, the true anomaly. Here's my new code to calculate the true anomaly:
The result for the true anomaly should be: 144.637°
Next up, the distance to the sun, which is r. My code to calculate r hasn't changed actually, but I did have to convert the true anomaly used in the calculation into radians first.
The result for r should be: 5.40406 AU
Finally, the x,y,z coordinates. I'll post an image of my code to calculate X, the other two are similar. Notice that each angle has to be multiplied by k - this is not shown on the website, and gave me lots of trouble!
The x,y,z coordinates for Jupiter should be: −5.04289, 1.93965, 0.10478
Now, here's a screenshot of my results:
and a side by side comparison. Target results in red, my results in blue.
Mean Anomaly: 141.324° | 141.365°
True Anomaly: 144.637° | 144.036°
r: 5.40406 | 5.40417
x: −5.04289 | -5.04431
y: 1.93965 | 1.93624
z: 0.10478 | 0.104829
Pretty close! I'm very happy with how the calculations are working.
The second part of what I was working on this week was importing a basic model from 3Ds Max and getting it displayed on screen. This proved quite difficult! The code I was planning to use from last semester proved instantly unusable - it requires models to be of .txt format, and 3Ds Max does not export to this format.
I spent many hours trying and testing different loaders, and eventually settled on an object loader (it loads models of type .obj) called GLM from this website:
http://www.3dcodingtutorial.com/Working-with-3D-models/Getting-GLM.html. I imported the files into my project and put them in a seperate folder - this means that the ImportModel and point classes I had made are no longer needed.
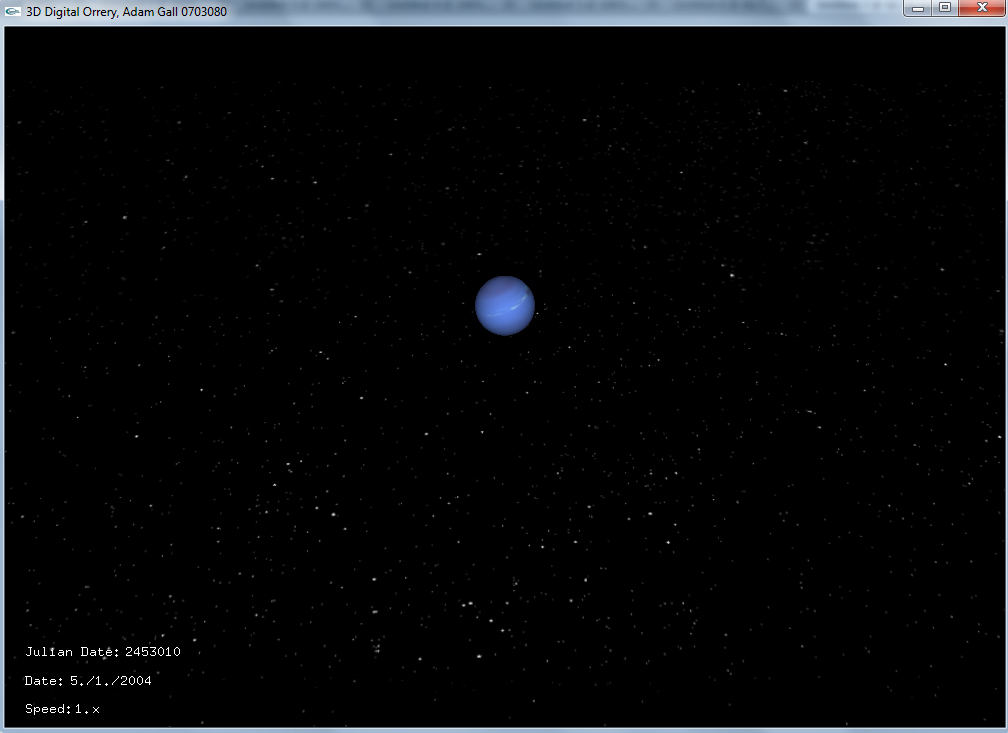
With a bit of tweaking, I've managed to get a geosphere with a material of an alien's face that I created in 3Ds Max, to display in my viewport window. Here's a screenshot:
All in all, some good progress made.
More next week.